Reino Unido / EU▾
Tu carrito está vacío


How To Install Dirt Bike Graphics – The MX Sticker Guide

If you have had your dirt bike with you for a long time, there’s a good chance that it’s starting to show its age. Perhaps not with its performance, but surely there’s an old plastic piece around it that looks rather tired. Or maybe you want to add a new look or even just landed a new sponsor.
If this is the case, your trusted dirt bike can benefit from a bit of transformation. Or in the world of motocross – a graphics installation.
Dirt bike graphics are essentially MX stickers or decals designed to change or enhance the appearance of your dirt bike. It can also be a designation of your race number.
To install dirt bike graphics, you’ll need to follow these three steps:
- Prepare all the necessary installation tools
- Clean up the plastic surface of the dirt bike
- Apply the graphics

If you’re up for a little do-it-yourself project with your graphics installation, then stick around and find out how these steps are executed like a pro.
What Is Graphic Installation?
Graphic installation is simply putting up decorative vinyl stickers over the plastic exterior of the dirt bike. The process is simple, and anyone can do it on their dirt bike.
But you may wonder how necessary graphics on a dirt bike are. After all, they don’t give additional horsepower to enhance speed and performance… or do they? We like to think that our Risk Racing Stickers easily add another 5 horsepower.
All joking aside, adding decals on your dirt bike does hold some importance in your confidence and reputation as a rider.
First off, in competitive dirt biking like motocross and arenacross, these stickers often have the number plate of the racer. That’s why you would easily notice a bold printed number on the front and sides of the dirt bike.
Then, of course, you have the added visual appeal of the dirt bike. Decals are aesthetically pleasing and eye-catching. Not only does it increase the value of your dirt bike, but it can also attract sponsors in the race.
Lastly, dirt bike graphics add another layer of protection against cosmetic damage. You can ride your dirt bike hard on the track and not worry about scratches, considering the high quality of the vinyl stickers.
But even if the decal sustains some scratch and minor damage, you can simply replace it and install a new one.

Are Dirt Bike Graphics Hard to Install?
Vinyl graphics are easy to install in dirt bikes. It’s practically child’s play. All you got to do is fit and stick the decal kit.
However the concept may seem straightforward, but it does require a certain level of meticulousness. That is if you want a clean symmetrical graphics application.
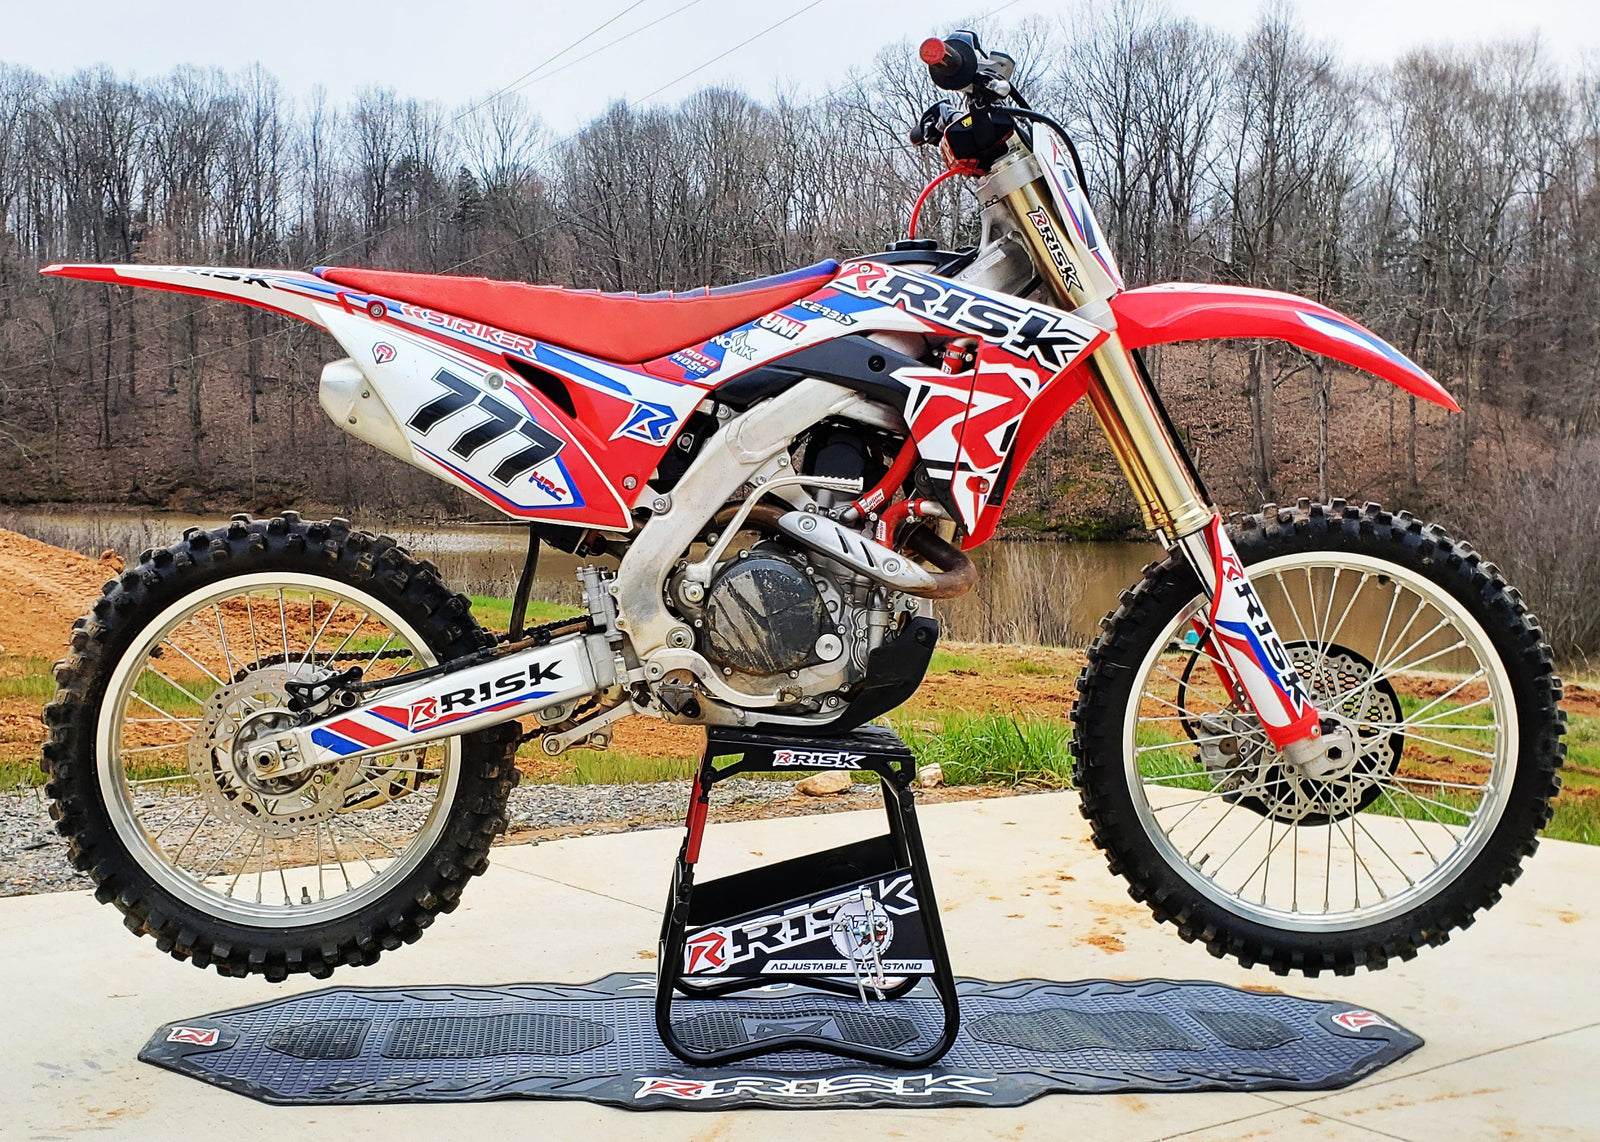
So, to achieve this necessary precision, you will need the right tools and materials, starting with a reliable dirt bike stand like the Risk Racing A.T.S Stand.
By placing your dirt bike on the stand, you can ensure that the bike remains steady when you fit and apply the graphics. In addition, the dirt bike stays erect instead of slanted, providing better symmetry.

How Long Does It Take to Put Graphics on a Dirt Bike?
You can install graphics on a dirt bike in under an hour. But this depends on the presence of a decal and your experience in the process.
However, it’s best not to be anxious about the time you spend putting up the graphics.
Experts always recommend taking your time and being patient when applying decal stickers on the dirt bike. This is because graphics installation requires a careful application from start to finish.
Nonetheless, you would want all those vinyl stickers to attach to the plastic without the wrinkles and overlapping edges. Otherwise, your dirt bike will look sloppy, and you miss the added value it could have provided.

How Do You Put Graphics on a Dirt Bike Plastic?
Here are the steps you can follow when putting your MX graphics on a dirt bike plastic.
1. Gather all the necessary installation tools.
Don’t start applying your graphics without gathering the needed tools, or else you’ll end up moving too much to look for them. This could compromise the precision of your alignment. So, here’s what exactly you need to prepare.
Stand
You will need a stable base like the ATS MX Stand to keep your dirt bike still during the entire graphics application procedure.
Adhesive Remover
Choose an adhesive remover that is alcohol-based. This solution will eradicate sticky residue from your current graphics. If your dirt bike has no graphics, an adhesive remover is still helpful to prepare the surface.
Microfiber Cloth
You can still use regular rags for wiping the plastic, but nothing does the job better than a microfiber cloth. It smoothens the surface, making it fully ready for graphics installation.
Knife and Scissors
There’s a high chance that you’ll have to cut some parts and edges of your graphics kit. It could be for a utility or personal design choice. In both cases, you’ll need a knife and/or a pair of scissors.
Tape
A roll of the tape becomes useful when trying to fit the graphics. For example, you can use it for support or when your try to draw estimates with the alignment.
Heat Gun or Hairdryer
A heat gun is necessary to reinforce the bond between the adhesive and the plastic. It also helps mold the decal and iron out the plastic during preparation. If a heat gun is not available, you can always use a hairdryer.

2. Prepare plastics for graphics.
If your dirt bike has existing decals, strip them away carefully to avoid problems with the adhesive.
Once you remove all the graphics, wipe the plastics with an alcohol-based cleaner or remover (adhesive remover) to eliminate any adhesive residue. Avoid brake cleaners as they can degrade the bond between the plastic and the new graphics.
Your goal is to ensure that the surface is smooth without traces of dirt, adhesive, and gunk that can affect the installation of the new decal.
Can You Put Graphics Over Scratched Plastics?
Yes, you can cover the scratches in the plastic with the new graphics.
However, this is fairly conditional. First, the new graphics must be of high quality to thoroughly hide these scratches.
Next, the scratches have to be at least mild or light. Otherwise, it may be high time to replace the plastic. And of course, make sure to clean them first to get rid of dust embedded in the groves. You may have to get creative and do some sanding first to make a surface for the decal to stick to.

3. Apply the graphics.
Do your installation in a room with a temperature of 60°F or higher. This way, you can ensure that there won’t be any issue with the adhesive.
Next, lay down all the graphics on a flat surface for complete count and damage inspection.
Then, you can do a mock fitting to ensure that all the pieces go in the right place. Using tape, attach the graphics with the paper still on to its designated part.
How Do You Fit MX Graphics?
When fitting MX graphics, always begin with the easy part. That being said, you can start with the front fender and plate.
To install the graphics, cut a small piece of the paper in the back instead of peeling the entire decal. Then, with one part of the adhesive exposed, stick it to the plastic and carefully align the MX graphic.
It is always best to start in the middle and work your way on the sides. But with the rear fender, the best strategy is to line up the tip first before moving to the side parts.

How Do You Get Bubbles Out of MX Graphics?
To remove the bubbles from the MX graphics, use a heat gun or a hairdryer to heat the decal after you put them on. This way, the bond is reinforced, and the bubbles easily escape.
Then mold the graphic by starting at the shallowest point and working deeper.
Allow the adhesive to bond with the plastic for at least 24 hours. And then reheat it after.

In a Nutshell
When installing MX graphics on your dirt bike, your focus should be precision and meticulous application. This may seem challenging at first, but you’ll get the hang of it.
Nonetheless, if you truly want a smooth and quick graphics application, don’t forget to secure the suitable dirt bike stand and other essential tools. Don’t forget to pick up some Risk Racing stickers!Dejar un comentario
Los comentarios se aprobarán antes de mostrarse.